Tuesday, 13 October 2015

Padding, adding rats, backcombing and frizzing 

During one of our technical lessons we were taught how to crimp and frizz hair, backcomb, and add padding and how to effectively use hair rats. Here are the results of the techniques I was taught.

Crimping:

  • Sectioning the hair into large chunks and start at the bottom of the head of hair.
  • Take the crimpers and place them as close to the scalp as possible without scolding and press down firmly for a few seconds. Then continue down the section of hair until the strand is successfully crimped. 
  • Continue crimping until the head of hair is done or until the sections that you wanted crimping are completed. 
  • Then once cooled and set, comb the strands out so that they do not stay in separate chunks. 
  • I found that I really liked working with the crimped hair and it really helped when trying out the other techniques later on. 


Backcombing:
  • Section off the hair you wish to backcomb using the pintail comb. In my case this was the hair at the front of the head that I had already crimped. 
  • Picking up a small section, take the pintail comb and drag it down the side of the hair that will not be visible, pulling the hair tight towards the root.
  • It will begin to gather the hair near the root of the hair. 
  • Continue all over and it will create a rigid structure that can be bent, shaped and pinned. 


Shaping without a hair rat:

  • After I had crimped and backcombed the hair, I was able to shape one side of it.
  • I began by taking thick sections of the hair and pinning it in the shape that I was trying to achieve, layering it one over the other. 
  • I found it quite easy to shape the hair and build a solid structure as the backcombing and crimping had created thick and rigid hair to work with. 
  • Overall I was pleased with this side of the hair.

Shaping using a hair rat:
  • Taking the other side of the hair I first of all pushed it all forward over the front of the face, leaving the back of the hair and roots exposed.
  • I then secured a ready-made hair rat in place, using hair grips, taking them through the hair rat, out of it and then under and securing it to the base of the hair. 
  • I then brought the hair over the top of the rat and was able to shape it around it. 
  • Then once I had shaped it and tucked the ends of the hair under the rat and then pinned these in place using hair grips.
  • The alternative to this method is to create a base to secure the rat to, this base can be in the form of a plait which the rat can easily be secured to. 
  • I really liked using the hair rat, however I didn’t think it was much better than without however on a real head of hair it may be quite different. 


Curling using a fine pin:

  • At the very front of the hair I removed a few sections of hair and sectioned them into smaller chunks.
  • Then using a fine pin at the root of a chunk, I began winding it around the legs of the pin in a figure of eight motion. 
  • Once I had wound all of the hair around the hair around the legs of the pin I secured it in place with a normal hair grip. 
  • Then taking some hot straightners, I clamped down hard on this chunk of hair then took the straightners away and let it cool. 
  • Once it had set and cooled I was able to un do the pins and let the curl down. 
  • this technique creates a zig-zag style curl, which was perfect to pin over the top of the existing up-do.


Evaluation:

Overall I found that I really liked using all of these techniques to create volume and texture. I think these styles of creating frizz work very well for me and I know that I can use the majority of these techniques to create authentic Elizabethan hairstyles.


 Curls, Spiral Curls and Lift Curls

Spiral Curls

Just after being curled:


Once they had been dressed out:


Process:
  • Begin by sectioning the hair and clipping strands out of the way if they are not being used.
  • Then taking a single section, hold the curling iron in a downwards angle and wrap the hair around it with the ends of the hair at the bottom of the wand.
  • Repeat using another section, however wrapping it the opposite way around the wand (but with the end of the hair still at the bottom of the wand) doing this will avoid the hair all curling into one piece. 
  • Using different sections complete all of the hair and then leave to set.
  • Once the hair has been left to set, begin to dress the hair and slightly combing out the curls so that they become loose and not as harshly sectioned. 

Lift Curls

Just after being curled:


Once they have been dressed out:


Process:
  • Begin by sectioning the hair and clipping strands out of the way if they are not being used.
  • Holding the wand horizontally to head. Then wrap a sectioned piece of hair around the wand and begin rolling it under and close to the head. Then clip into place using a sectioning clips. This piece should look like a barrel and like a tube.
  • Repeat all over the head. And then leave to set for a while e.g 15 minutes for them to set properly. 
  • Then release the curls from the sectioning clips and loosen them slightly, using the end of a pintail comb preferably.  


Monday, 12 October 2015

Vogue Italia 2005 


Vogue Italia 2005
Model - Lily Cole
Photographer - Richard Burbridge

I feel like the hairstyles in these images are heavily influenced by Elizabethan hair trends for a number of reasons. In my opinion the most predominant factor is the choice of model, Lily Cole, renowned for her beautiful long red hair and pale complexion. She is the perfect choice when interpreting an Elizabethan style. Another key connection to Elizabethan style is the texture of the hair in a number of the images, it’s either curled or slightly frizzed which is iconic in relation to Elizabethan hair. Many of the women had curled hair in tight ringlets or frizzy and built up. There are a number of connections that can be drawn between the hairstyles in these photographs and Elizabethan hairstyles, it’s something I really love the hair and styling in these photos. 


Sunday, 11 October 2015

Elizabethan Hair Adornments and Modern Adornments


The Elizabethan monarchy and upper-class were well known for their flamboyant hairstyles, full of body, texture and decorations. This is because many of them would often use adornments to style their hair, often used as a status symbol. The different types of adornments ranged from pearls, ribbons, hats, bonnets, crowns and jewels. It was a time in which wealth and affluence were often shown off to others through a person’s appearance. 


In modern fashion, hair adornments are used regularly, they can be used to complete a look, as an accessory or simply to add an extra feature to the style.  


From the modern hair adornments I love the glamour it adds to the hairstyles, it makes them all the more beautiful and adds an extra touch to the look as a whole. I feel like the use of adornments in hair will never go out of style and will continue to develop further in the future. The trends in adornments haven’t changed too drastically from the Elizabethan period and now, many people still use jewels, pearls and hats to adorn their hair. Fashion accessories like this have been used for hundreds of years and will continue to do so in the future. 

Hair in Elizabethan Society

When researching Elizabethan hairstyles I have mainly found myself looking at hairstyles belonging to monarchy or those in the upper class. And further research has shown that there is a distinct difference between the looks of those in the upper class and those who were in the working class and of a poor status. The difference is clear when looking at images and paintings of those portrayed in each class, for example those in the upper class, had a lot of height and texture to their hair, either in the form of frizz or curls. Whereas the working/lower classes had little height to their heir and it may often be left natural, so wavy or loose curls.  Another difference was often the colour of hair, lower classes would be out in the sun working and their hair and bodies would be exposed to the weather, therefore their hair would be browns, blondes or greys depending on age etc. Whereas the upper classes would often get dyed a reddish colour through the use of different forms of dye such as saffron, cumin seeds and other ingredients. They would also often wear things like wigs which may have been coloured beforehand. Wearing wigs was a major indication of wealth and status as the wigs cost a lot of money. Other significant differences included the shape of their hairstyle, the upper class had huge hairstyles with plenty of height that could be shaped into things like hearts or be rounded whereas the lower classes had natural styles, often using simple plaits and buns, with little height or significant shape to them. 


Wednesday, 7 October 2015

Inspiration: Oscar De La Renta SS2012


All images came from: http://www.vogue.co.uk/fashion/spring-summer-2012/ready-to-wear/oscar-de-la-renta

We can sometimes find influences of these in contemporary hairstyles, for example in 2012 Oscar De La Renta’s Spring/Summer catwalk showcase featured some hairstyles that were styled and adorned with items in a way that could be compared with Elizabethan hairstyles.
I have noticed a number of similarities between these hairstyles and the hair of women in Elizabethan times, many have been curled tightly however these are in a more contemporary style to suit modern audiences. Other similarities were the adornments in these hairstyles. For the showcase of this collection lots of plaits were adorned with pearls or small pieces of material, adding in beautiful detail to the hairstyle. Which in my opinion links beautifully with Elizabethan style and for me these looks are a very contemporary version of the style.

When finding looks like this in modern fashion it allows me to think of the direction I could potentially take my directed study in, as there a number of possibilities. To improve my further understanding I feel that more research is necessary so that I have a wider variety of knowledge available to me. 

Saturday, 3 October 2015

Buns And Plaits

During our first studio session for Hair and Postiche we were taught six different hairstyles and then asked to recreate them ourselves.

Large Bun

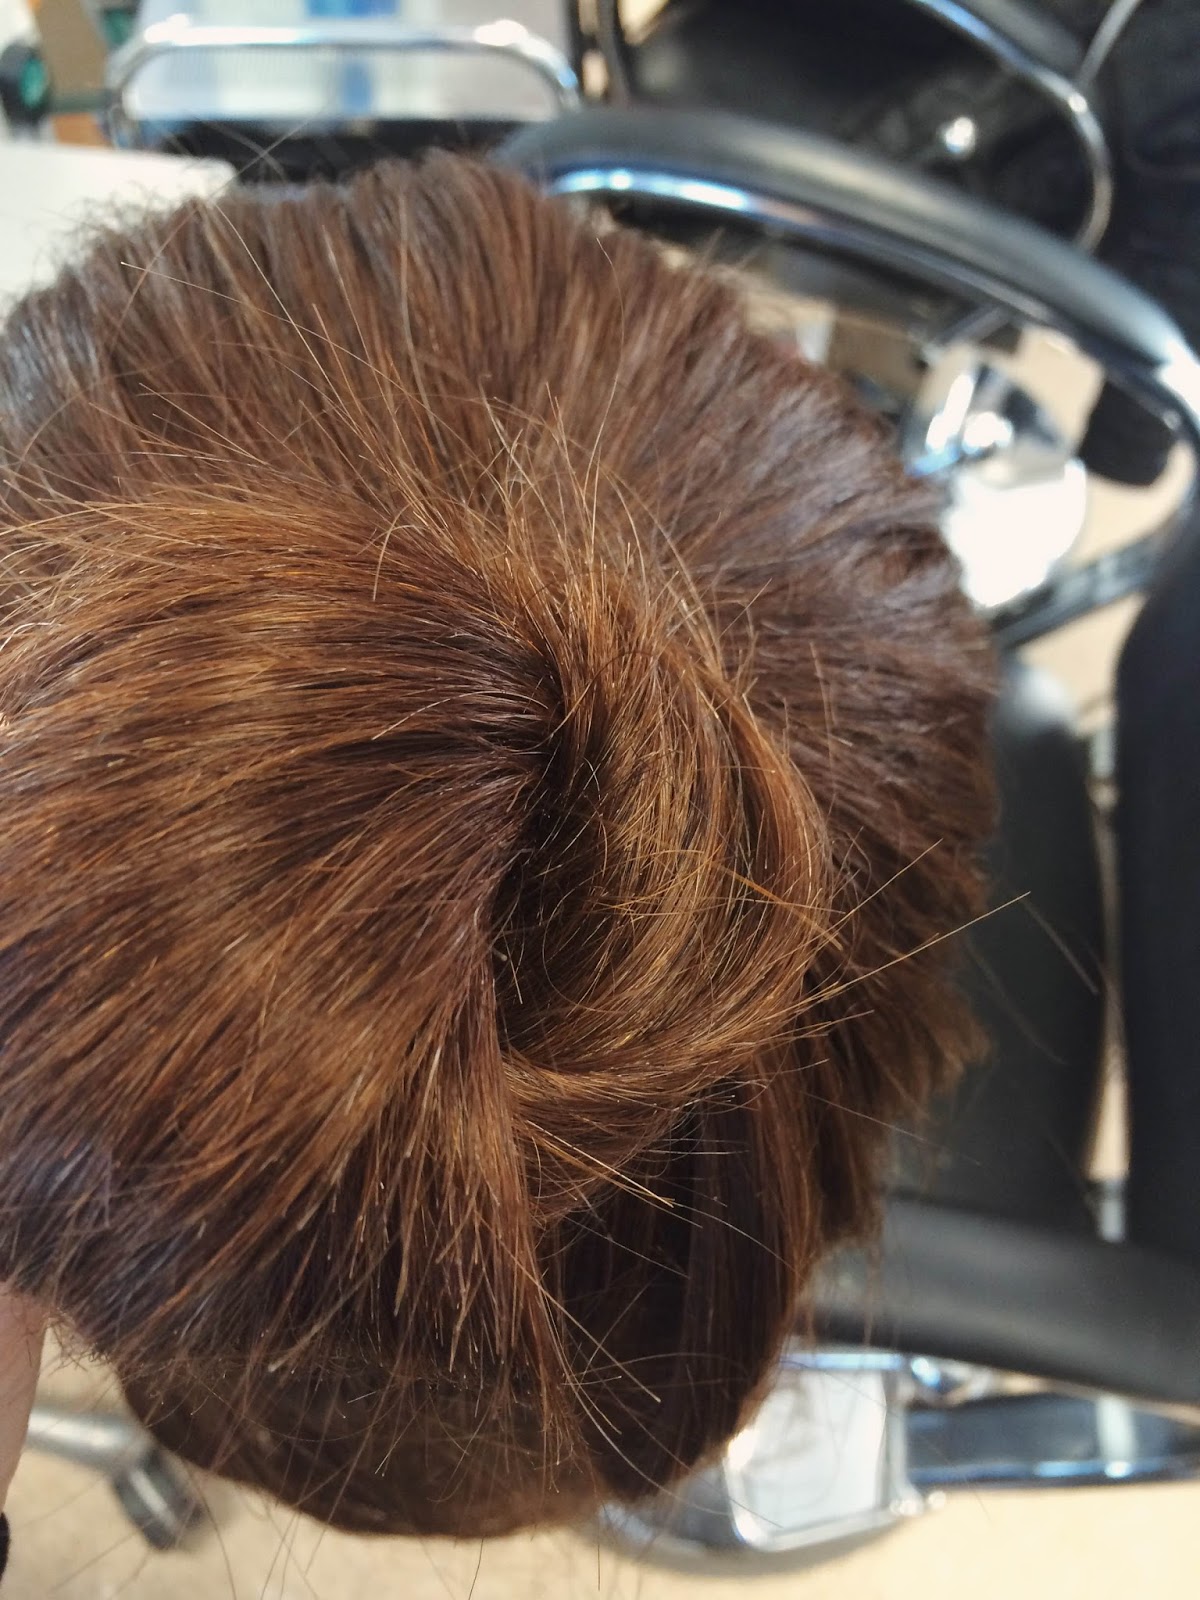
The first was a simple bun, in which we had to section the hair from just above the ears as the rest of the hair was too short to be able to go into the bun. After sectioning the hair, I brushed through the top half and tied it up using a small elastic band. Again I split the hair in the pony tail into four even sections and taking the one of the quarters I held it up and began to back comb the piece. Back combing the side facing out from the pony tail, once this was done I began to bend the piece of hair so it formed a semicircle with the top of the head. The back combed side was on the inside of the loop and then I set it in place using two Kirby grips. I then did the same with the other three of the quarters. After all sections looked relatively even I then took a hair pin that had two straight prongs and proceeded to bring together the edge of two of the loops. The hair moved easily however didn’t lose its shape as I had secured it well using the Kirby grips. It took time to get the hair to flare out evenly, however once I had done so I secured each section in place using the grip with straight prongs. Overall I was extremely impressed with the outcome of the bun. I feel like it could be used within a number of looks and fit a variety of themes if changed slightly, for example a very simple Elizabethan hairstyle.  


Twist Bun

The second hairstyle we were taught was a twist bun. This was done using the same ponytail as previously used in the other bun. However instead of backcombing the hair we brushed it through and then pulled the end of the ponytail so it was taught from the elastic hair tie to the ends of the hair. Then twisted the pony tail around, you could clearly see the spirals in the hair. Then with the twisted pony tail we wound it around the base of the pony tail, it formed a loop around the elastic band and I was able to secure it in place using a Kirby grip and a straight pronged hair grip. This bun does not look as neat as the previous bun and it wouldn’t be suitable for certain themes or looks, in particular period hairstyles however if a messy up-do was required I would feel confident in using a bun like this as it produced a messy look. I also think it may have looked better if done using longer hair as the bun would be larger. 


Plait Bun

The third bun we were shown was created using a plait as the bun. Again using the same ponytail as the base we began to plait it. Once the plait had reached the ends of the hair we were able to wrap it around the base of the pony tail. Once in a suitable position I pinned it using hair grips. I found this particular style of bun a lot harder to work with, as I found the plait was quite hard to shape into a bun and for it to stay secured. However after some practice I feel it may become easier for me to get the outcome that I would like to achieve. 


Classic Plait

After being taught how to do three styles of bun, we were then taught about how to do three different styles of plaits. The first one we were taught was a simple plait and one that I have done on myself since being a young child. To create this look you must section the hair into three sections, all with the same amount of hair in each third. You then take one of the outer thirds, in the case I took the right, and bring it over the middle third and take it under the other outer third, which is in my left hand. I was then left with my original middle third being on the right hand side, the third on my left was then in the middle and my third on the right is now on my left. I then continued this process down the length of the hair. I find that this style of plait is very simple and easy to create and looks extremely neat. I don’t think it wold be suitable for certain period hairstyles, however I think it would be possible to incorporate it into an Elizabethan hairstyle in some way. 


French Plait


The second style of plait we were taught was a French plait, a hairstyle that is extremely suitable for period hair and in particular Elizabethan hairstyles. I did find difficulty in creating a French plait however with practice I have found it much easier and I believe that with further practice it will come to me easily. As with the simple plait you start with three sections of hair, however this time I started on one side of the head, at the top of the parting. I then used the same process as before and crossed over from right to the left, middle to the right and left to the middle. However before repeating this step I added in another section of hair from the right hand side and crossed it over too, I also did this when taking the hair now on the left hand side, making both pieces slightly bigger when crossing them over. I repeated this with each section that I moved over, meaning more hair was added each time a third was being moved from one corner to another. This meant that as I went further down the side of the head more hair was in each third. And when I got to the bottom of the hairline, on the neck, I proceeded to plait the hair using the simple plait method. I love the look of a French plait and I think it’d work perfectly with period hairstyles. I also believe that with more practice I will be able to be more creative with my French plaiting. 


Fishtail Plait

The final plait we were taught was a fishtail plait, one that I have struggled with in the past when attempting it on myself or friends. The process is simple however it is very time consuming, especially on longer hair, which therefore means it would be unsuitable if a hairstyle needed to be done quickly. To create the fishtail plait you need to brush through the hair and make sure there are no nots or tangles as this will help the final look. Then section the hair you wish to plait in two sections, with the same amount of hair in each half. Then you take a small amount of hair from outer side of one of the sections of hair and pass it over its original side and join it into the other section. You then repeat the same thing however with the other section of hair, again taking a small piece from the outside of a section of hair. You must continue this for the full length of the hair and you must only take small sections of hair. If you pass across larger sections it will not look like a fishtail but sometimes like a normal plait. The process takes a long time before you see any significant results however when creating a fishtail plait you must persevere and eventually the look will come together. These are also easily adapted for example you can make them look messy or neat depending on the specific look you were trying to achieve.